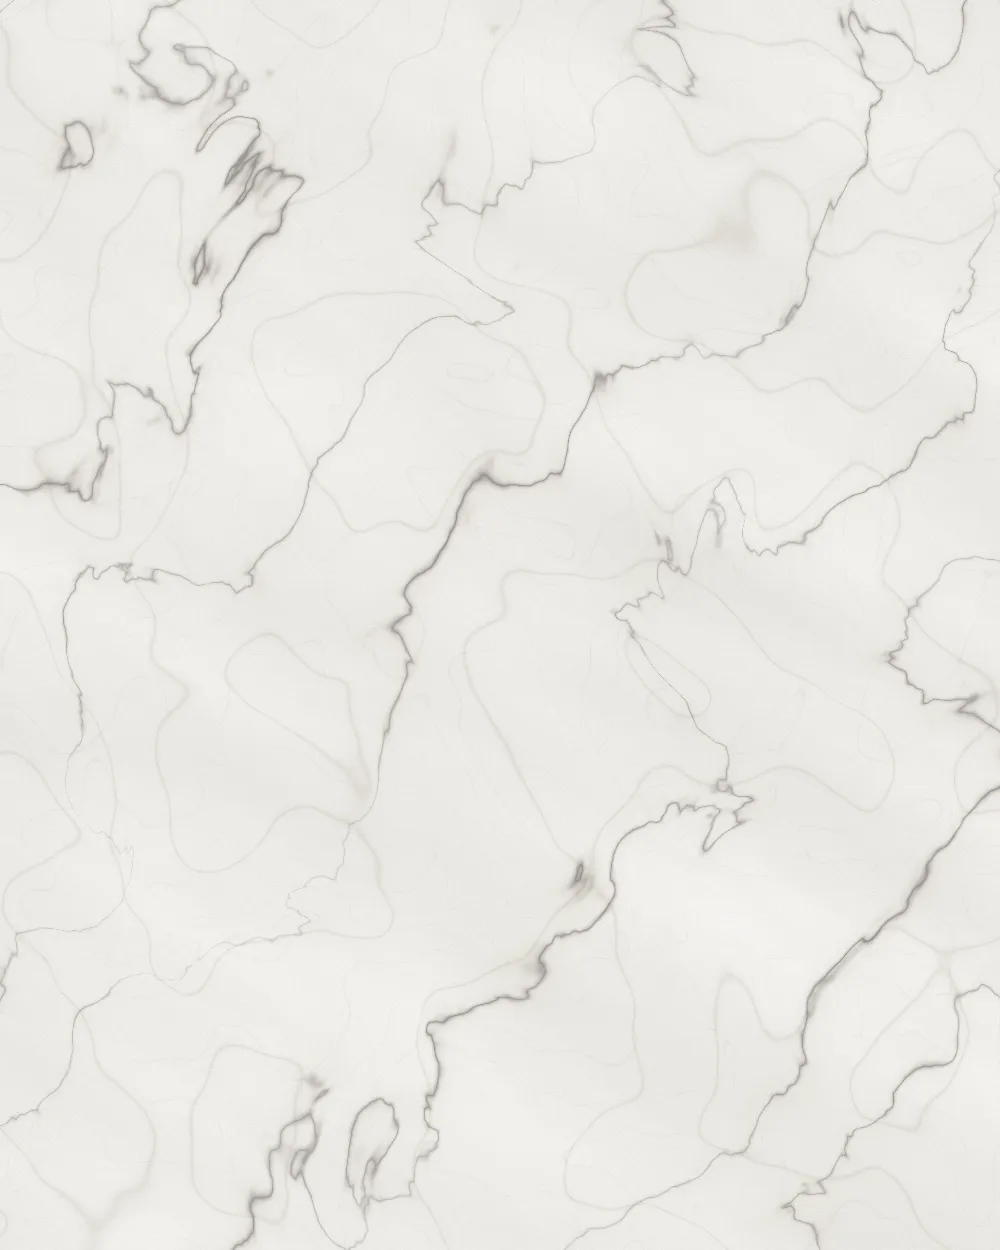
Few materials stop people in their tracks like a backlit onyx wall. When light passes through the stone, the bands of honey, green, white or pink suddenly come alive. That is why onyx marble is so popular for bar counters, reception desks, feature walls and luxury bathrooms. It is also the most delicate stone we fix. Onyx is softer and more brittle than most marble, it cracks easily, and a backlit installation exposes every mistake in fixing, framing and lighting.
This article explains how onyx marble is fixed safely, how backlit walls are built, what changes for onyx counters, and how to avoid the problems we are often called to correct.
Why onyx needs special handling
Onyx is a banded, translucent stone. It is cut thin to let light through, and it usually comes with resin on the face and sometimes a clear backing. Its weaknesses are easy to list:
- Brittle. It snaps along bands if bent or knocked, especially at corners.
- Soft surface. It scratches more easily than Italian marble and etches with acids.
- Translucent. Anything behind it, whether cement patches, adhesive lines, screws or uneven light, shows through when lit.
Because of this, a backlit onyx wall is designed as a system, not just a stone stuck to a wall.
How a backlit onyx wall is built
Step 1: Plan the frame and depth
The onyx should never be fixed straight onto a plastered wall if it is to be lit. We work with the architect to set a frame, usually aluminium or powder-coated steel, that creates a cavity behind the stone. The depth of this cavity is decided with the lighting supplier, because it controls how evenly the light spreads.
Step 2: Lighting behind the stone
LED panels or LED strips on a white reflective backing are fixed inside the cavity. Too little distance between light and stone gives hot spots and visible lines; more depth gives a softer glow. Before closing anything, we always ask for a mock-up: one slab held in front of the lights, switched on, so the client can see the result. Heat is a real concern. LEDs produce far less heat than old tube lights, but drivers should still be placed where they can be ventilated and reached.
Step 3: Stone support
For large panels, onyx is often supplied laminated to clear glass or a clear backing sheet, which adds strength without blocking light. The panels sit in channels or on clips on the frame. Where adhesive is needed, we use clear or translucent adhesive in small controlled points, never a full grey or white bed that would show as a shadow.
Step 4: Maintenance access
LEDs and drivers fail eventually. A good design allows at least one panel or a side section to be removed without breaking stone. If your design has no access, ask about it before work starts.
Onyx counters and vanity tops
Onyx bar counters and washbasin counters are popular, and they look stunning when lit from below. They need extra care because a counter takes weight, impact and spills.
- Support. The onyx top should rest on a full, rigid support, either clear glass or a properly framed base. Unsupported overhangs crack.
- Cut-outs. Sink and tap cut-outs are cut slowly with a wet blade, with rounded inner corners. Square inside corners are where onyx cracks first.
- Edges. We prefer a small rounding or bevel rather than a sharp edge, which chips at the first knock.
- Sealing. A good penetrating sealer helps against stains, but it will not stop lemon, vinegar or alcohol from etching. Bar counters especially need coasters and quick wiping.
Cutting and fixing onyx without breakage
We cut onyx with fresh blades at slow speed and support the slab fully on a flat table. Edges are finished by hand polishing in stages. Panels are carried upright with two people. For wall work without backlighting, onyx can be fixed with white polymer-modified adhesive and mechanical clips, but the adhesive coverage must be complete and even, because onyx can still show faint patterns in strong side light.
Joints on a backlit wall are kept very fine and filled with clear or lightly tinted epoxy so that light does not leak through in bright lines.
Common onyx problems we are called to fix
- Dark patches on a lit wall, caused by adhesive dabs behind the stone.
- Bright stripes from LED strips placed too close to the panels.
- Cracks at counter cut-outs and unsupported overhangs.
- Dull rings on bar counters from glasses and citrus.
- Panels that cannot be removed when a driver fails.
Some of these can be corrected by re-polishing or replacing a single panel. Others mean dismantling the wall, which is why careful planning pays off.
Onyx planning checklist
- Fix the frame and cavity depth with the architect and lighting supplier first.
- Insist on a lit mock-up with the actual slab.
- Decide between laminated panels and plain slabs early.
- Plan access for lights and drivers.
- Order spare panels from the same lot in case of breakage.
Onyx is not a stone to experiment with on site. If you are planning a backlit wall, bar counter or vanity, send your drawings and slab photos on WhatsApp at 9468916422 and we will talk through the frame, lighting and fixing approach. More details on our imported stone work are on the Italian marble fixing and flooring page, and you can also reach us through the contact page.
Italian Marble Fixing & Flooring in Rajasthan & across India
Expert fixing of Statuario, Botticino, Perlato Royal and other imported marble, with planned slab layout, white-base fixing, epoxy joints and mirror polishing.